
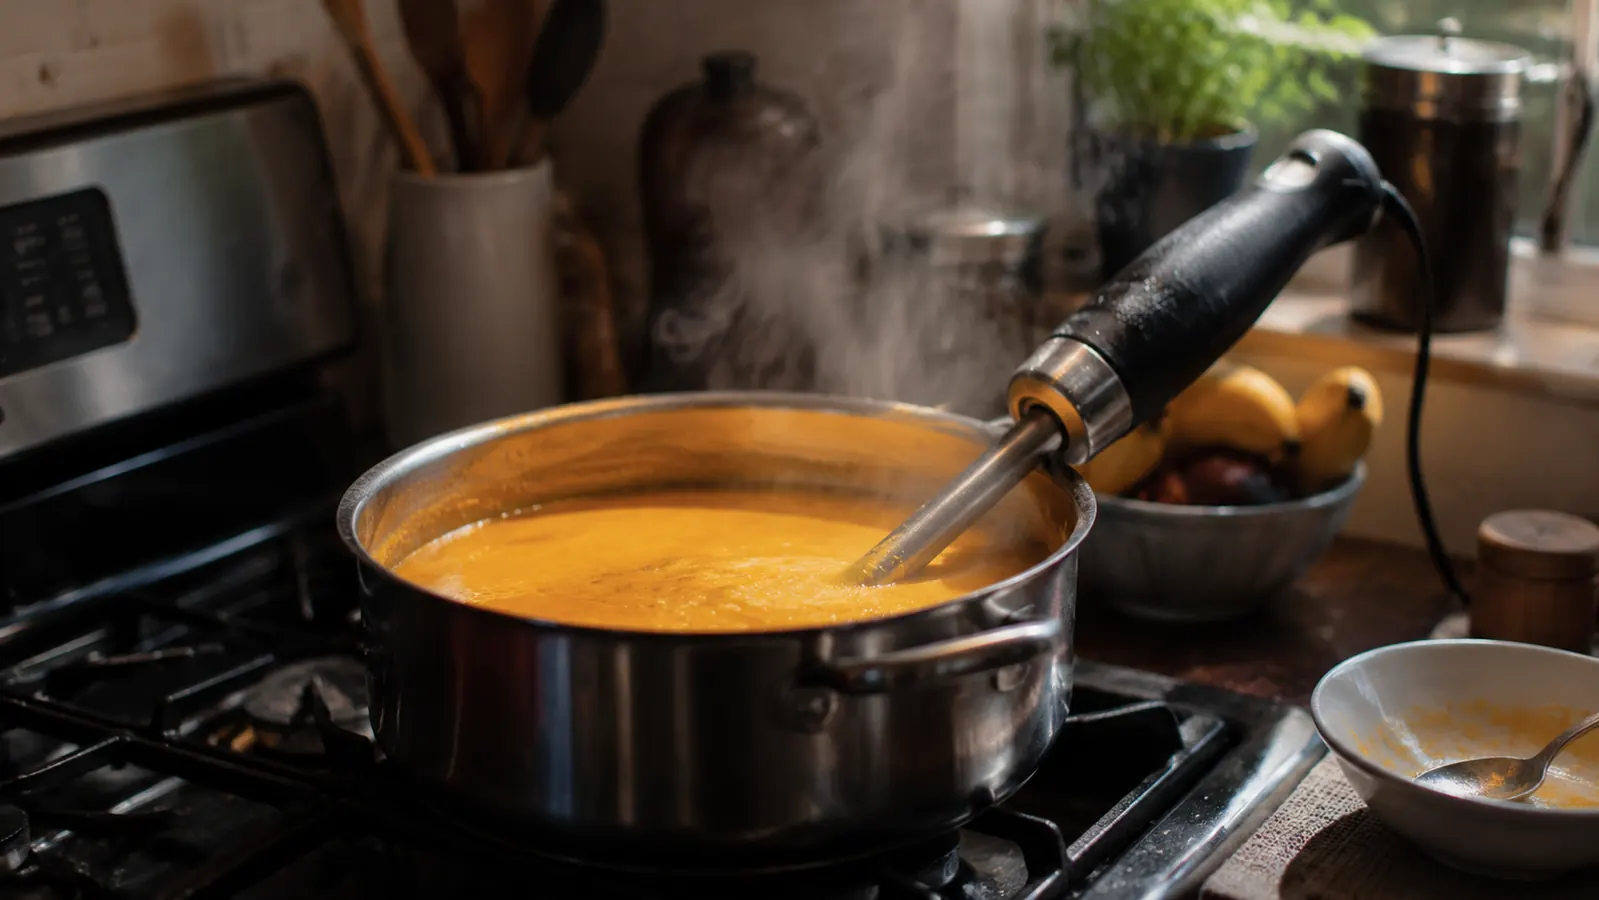
For years my pureed soups came out fine, not bad, just never quite right. There was always a faint grain to them, little flecks of unblended celery or a slightly gritty finish that reminded you the soup had started life as chunks of vegetables in a pot. I chalked it up to my cooking, not my equipment, until I actually paid attention to what a proper immersion blender does that a fork-mash or a rushed countertop blend does not.
The fix wasn't a fancier recipe. It was technique, and a tool built to apply that technique without me dragging a hot pot across the kitchen to a Mueller blender base and pouring scalding soup into a pitcher with one hand. Below is the exact sequence I use now, from the pot I choose down to the two-minute rest at the end that most people skip and shouldn't. None of it requires special ingredients or a culinary degree. It just requires doing the steps in the right order, in the right amount of time, instead of rushing the part that actually determines whether your soup ends up silky or merely okay.
The tool that ended my grainy-soup problem
An immersion blender does one job better than almost anything else in my kitchen: it turns a pot of simmered vegetables into something silky without a single dish transfer. Here's the one I reach for every week.
Amazon See Today's Price on Amazon →Step 1: Cook the vegetables past 'fork tender'
Most soup recipes tell you to cook vegetables until a fork slides in easily. For a smooth soup, I go a little further than that. I want the carrots, potatoes, or squash soft enough that they're already starting to break apart on their own when I stir the pot. Undercooked vegetables are the number one reason a pureed soup still has texture after blending. No blade, immersion or otherwise, fully breaks down a vegetable that's still got structural bite left in it, no matter how long you run the motor.
I test this by pressing a piece against the side of the pot with a wooden spoon. If it mashes without resistance, I'm ready to move to the Mueller blender. If it still holds its shape, I give it another five to seven minutes on a low simmer and check again. It's a small extra step that costs almost nothing in time, and it saves me from standing over the pot for an extra two minutes with the Mueller blender running, hoping the texture eventually gives.
This step matters more than people expect. I've watched friends blame their blender for a lumpy soup when the real problem was pulling the pot off the heat ten minutes early because the kitchen smelled done and the clock said it should be. Vegetables don't care what the clock says. A butternut squash that still has resistance in the center is going to leave fibrous streaks in your finished soup no matter how good the Mueller blender is.
I also pay attention to how I cut the vegetables going in. Smaller, more even pieces cook through at the same rate, so I'm not left with a pot where the carrot centers are tender but the potato chunks are still firm. Uneven dicing is a small thing, but it compounds by the time you get to the blending step.
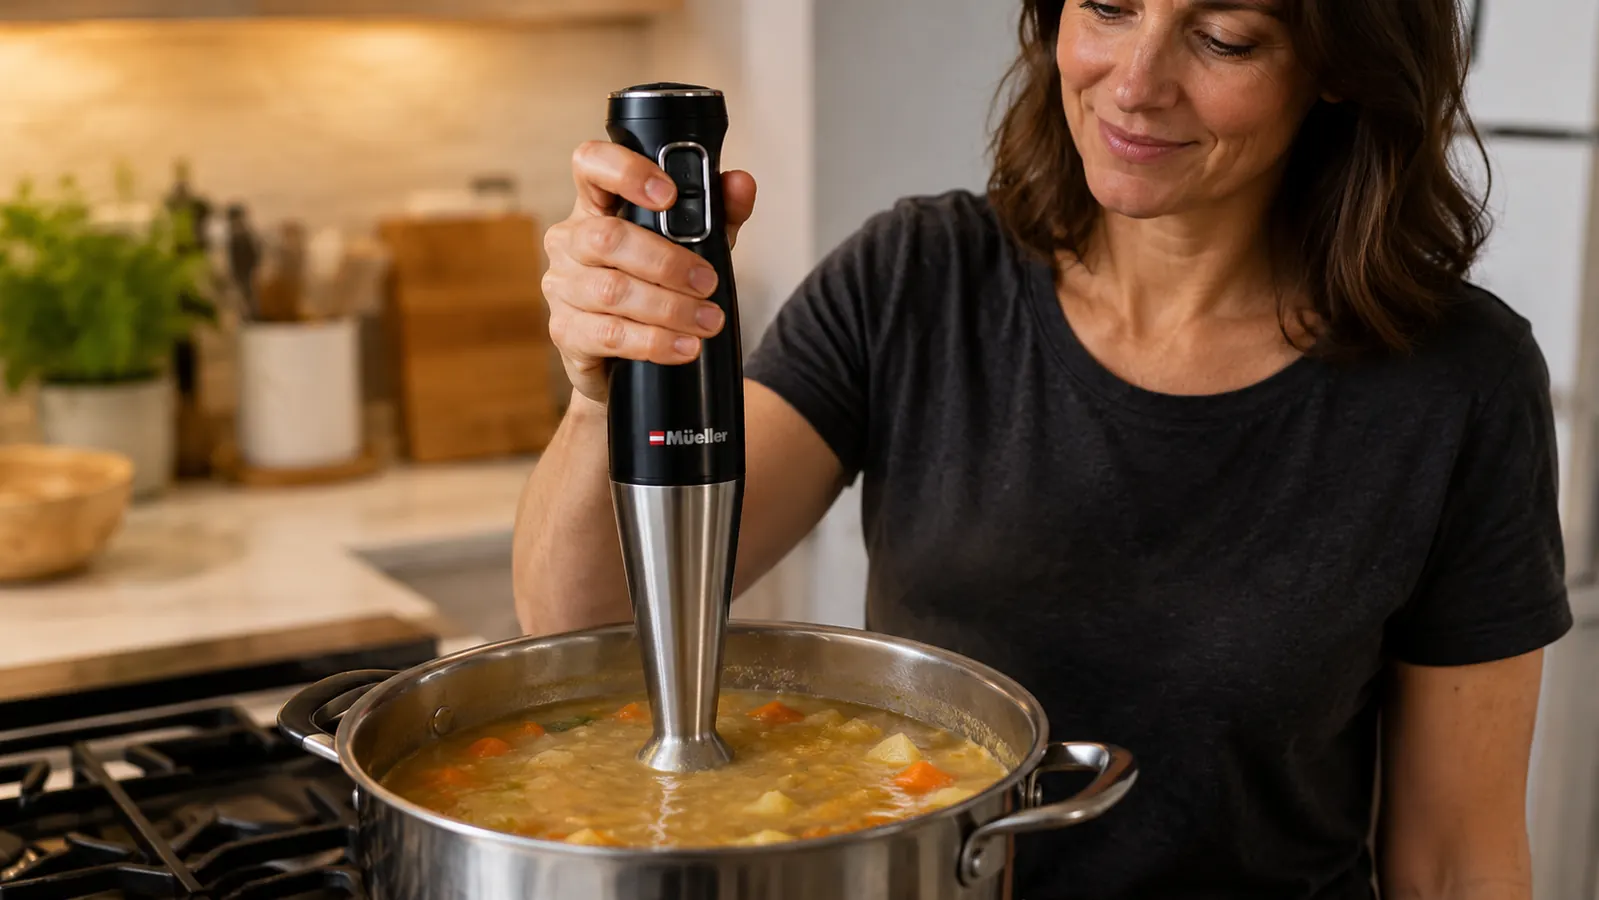
Step 2: Lower the liquid level before you blend
A full pot of soup splashes the second a blade hits it, and an immersion blender run at full power in a nearly-full stockpot will send hot liquid up the sides and onto your stove, your hand, or your shirt. Before I blend, I either ladle off a cup or two of liquid into a separate bowl, I can always add it back for consistency, or I tilt the pot slightly and blend in the deeper corner where there's more clearance below the surface.
The other reason to manage the liquid level is control. Thinner soup blends fast and can turn frothy if you overdo it, especially with cream-based bases where the fat wants to whip rather than fully emulsify. I like to blend with slightly less liquid than the final soup will have, then stir the reserved liquid back in once the texture is where I want it. That gives me a chance to judge thickness accurately instead of guessing while the pot is still full to the brim.
This step also protects the blender itself. Running any immersion blender dry, or nearly dry, against the bottom of a thin-walled pot can chip a blade over time. Keeping enough liquid in the pot to fully cover the blade housing means the motor is always working against liquid resistance, not metal on metal.
Step 3: Submerge fully before turning it on
This sounds obvious until you're standing over a hot pot trying to hold a heavy lid, stir with your free hand, and blend at the same time. Turn the immersion blender on only after the head is fully submerged below the surface. Switching it on while it's half in the air sprays hot soup across your stovetop and counters, and I've made that mess enough times to know it's not worth the shortcut, especially on a stove I have to wipe down before I can even start the next dish.
Once it's submerged, I angle the shaft slightly toward the side of the pot rather than straight down in the dead center. That angle pulls chunkier bits from the edges into the blade path instead of leaving them stranded where the blade barely reaches. I also make a point of never lifting the head above the surface while the motor is still running. Turning it off first, adjusting position, then turning it back on takes an extra second but keeps the mess contained to the inside of the pot where it belongs.
Pot shape matters here too. A narrow, tall stockpot gives the blender more depth to work with and less surface area for splashing, while a wide, shallow saute pan makes it harder to keep the head fully submerged without tipping the pot. If I know a recipe is going to end up pureed, I cook it in a taller pot from the start rather than switching pots midway, which just adds a wash and a chance to spill.
Step 4: Work in slow circles, not straight up and down
The instinct is to jam the blender straight down and hold it there. That works eventually, but it also tends to blend a tight column in the middle of the pot while the outer ring stays chunky. I move the blender in slow, wide circles around the pot, dipping slightly up and down as I go, which pulls unblended pieces into the blade instead of relying on the blade to find them on its own.
On a stainless stockpot big enough for a full batch of soup, this usually takes me somewhere between ninety seconds and three minutes, depending on how much I'm making and how far along the vegetables were before I started. I check texture at the halfway point by lifting the blender out, wiping the shaft, and tasting a spoonful straight from the pot. If I still feel any grit on my tongue, I go back in for another thirty to sixty seconds before moving on.
I've also learned to work the corners of the pot deliberately, not just the middle. Soup pots, especially the taller stockpots I use for a full batch, have dead zones near the bottom edge where the blade's suction doesn't naturally pull material in. Tilting the pot slightly, or physically tipping the blender toward those corners for a few seconds, catches the pieces that would otherwise survive the whole process untouched.
Speed matters more than people assume. I start on a lower setting for the first ten or fifteen seconds, especially with a full pot, just to break the big pieces down without flinging soup up the shaft and onto my hand. Once the chunkiest pieces are gone, I bump it up to a higher speed for the bulk of the blend, since a slow speed the whole way through just takes longer to get to silky without actually being gentler on the soup.
Step 5: Rest it for two minutes, then blend once more
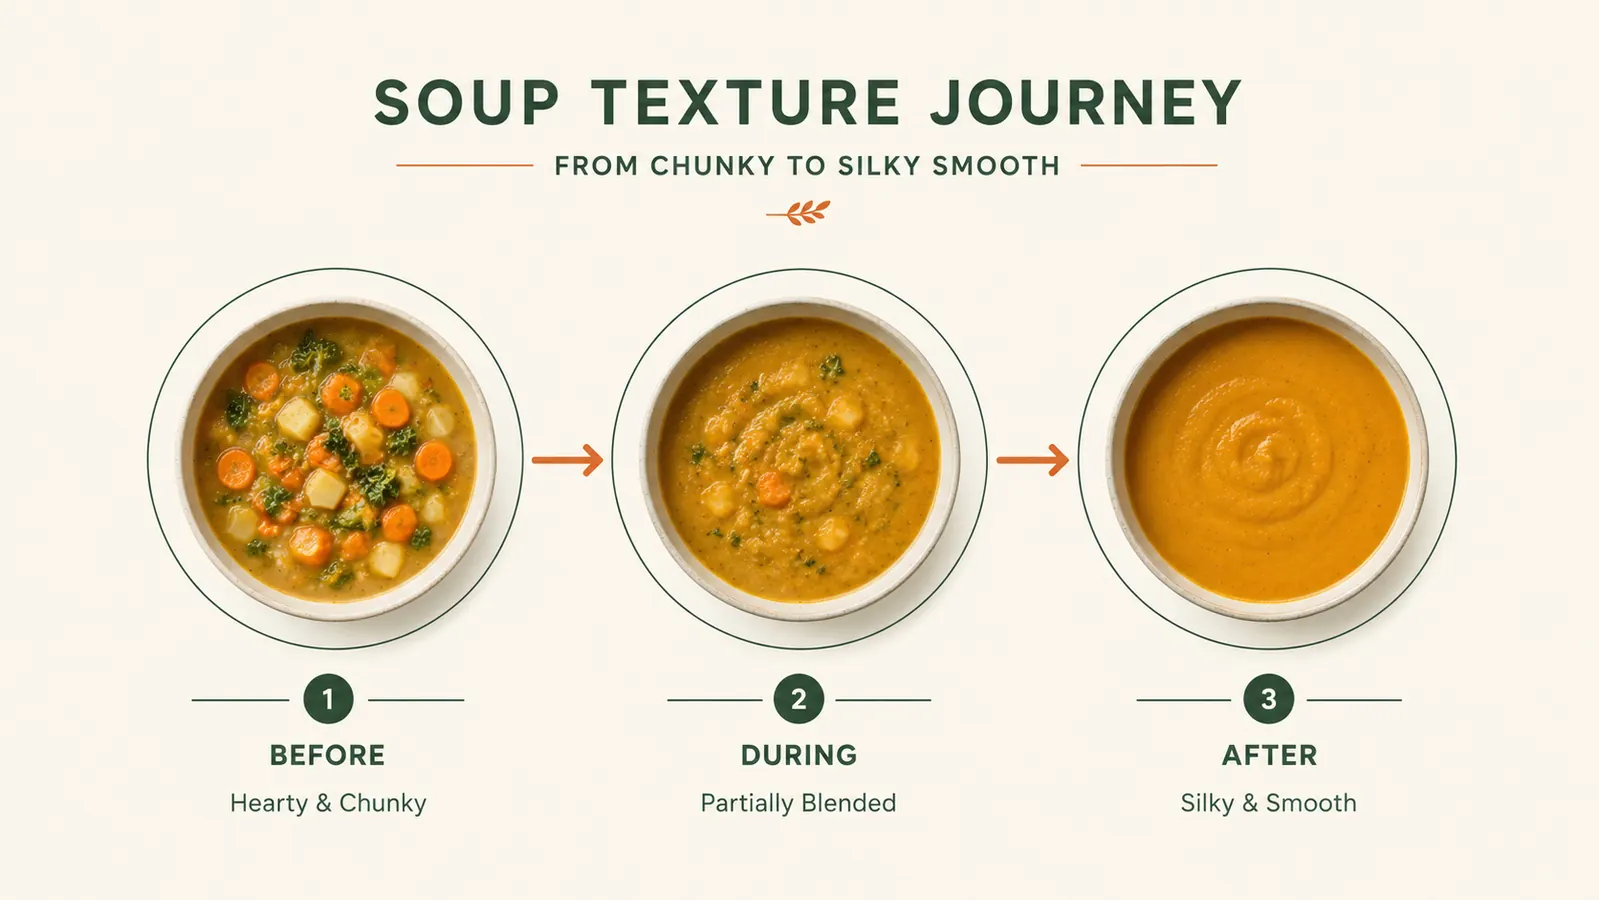
This is the step almost nobody does, and it's the one that gets me from good to genuinely smooth. After the first blend, I let the pot sit off the heat for about two minutes. Any tiny air bubbles worked into the soup during blending settle out, and starchy vegetables like potato continue to soften slightly in the residual heat. Then I run the immersion blender through the pot one more time for twenty or thirty seconds.
That second short pass catches the small pockets that hide near the pot walls the first time around. It's a small extra step, maybe three minutes total, and it's the difference between soup that's smooth and soup that actually feels like something from a restaurant kitchen. I skipped this step for years because it felt unnecessary, and honestly, most nights it barely mattered. But on the soups where texture is the whole point, a butternut squash bisque or a silky potato leek, that second pass is where the real payoff shows up.
What Else Helps
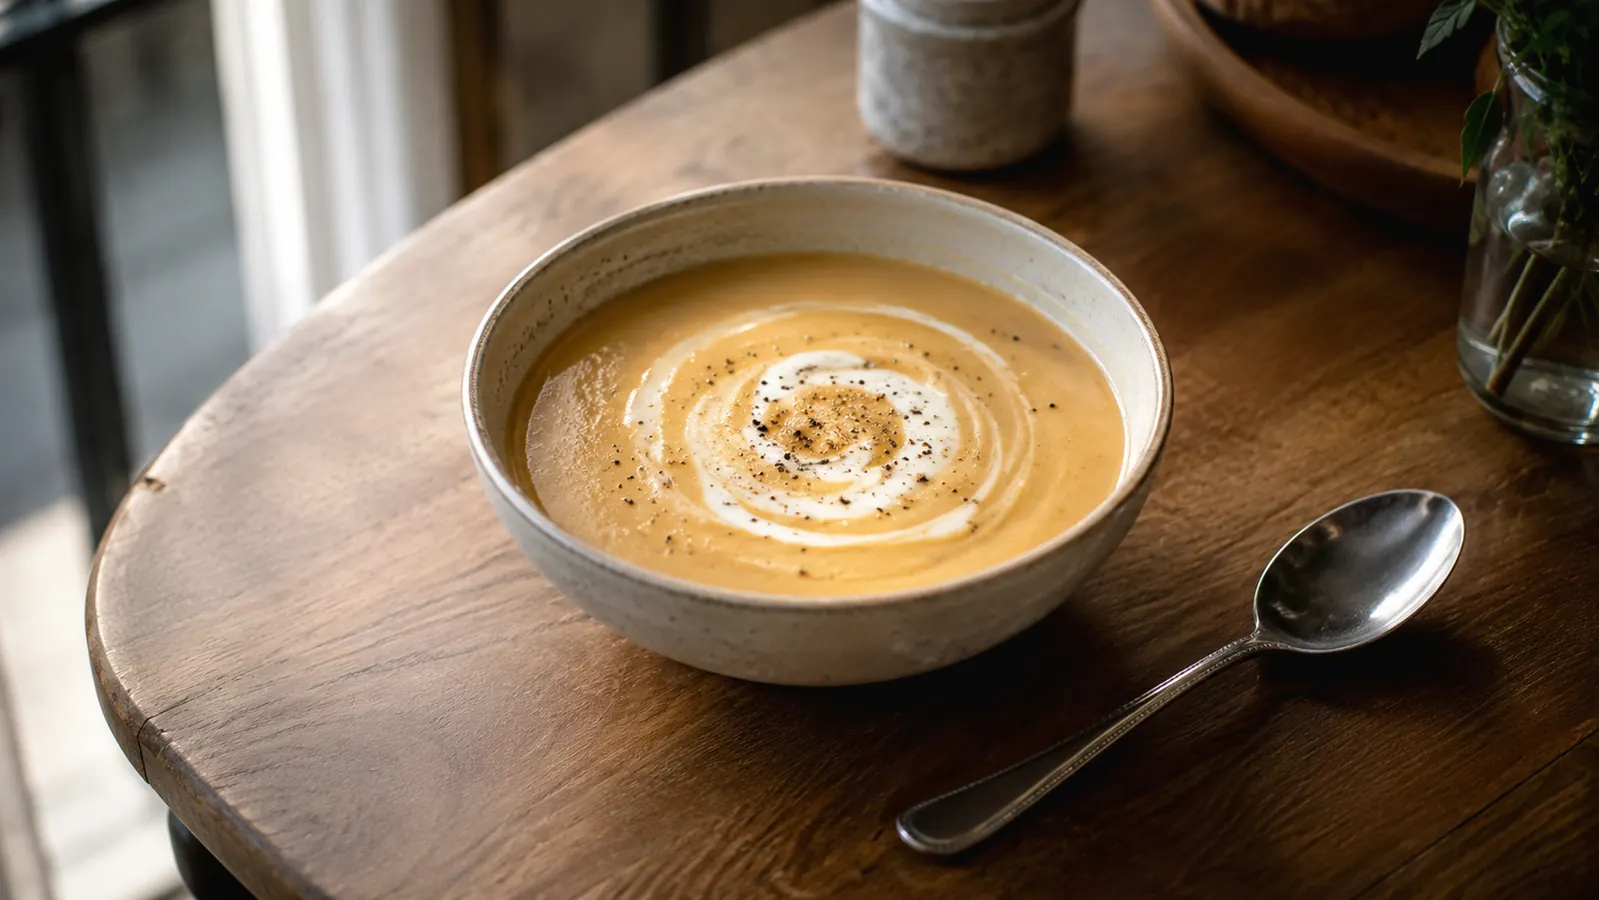
A few things outside the blending steps themselves make a real difference. Fibrous vegetables like celery and fennel blend smoother if you strip the tougher outer strings with a vegetable peeler before cooking, since those strings are what survive even a long blend and show up as thin threads in an otherwise smooth bowl. A splash of cream, coconut milk, or even a spoonful of butter added right before the final blend helps carry the texture and rounds out any lingering graininess, since fat coats the tiny bits of fiber and makes them feel silkier on the tongue rather than gritty.
If I'm making a big batch, I blend in the pot rather than transferring to a countertop blender in stages, since every transfer is a chance to slop hot soup onto a counter or lose heat you'll have to build back up. The whole reason I reach for an immersion blender instead of hauling out the countertop model is that one pot, start to finish, never has to leave the stove. It also means one less appliance to wash, since the blade and shaft rinse clean under the tap in about ten seconds while a full-size blender jar and lid can take a real scrubbing to get soup residue out of every seam.
I also keep an eye on how hot the soup is while I'm blending. Straight-off-the-boil soup can spatter more and cools the motor housing faster, which some blenders handle better than others over a long session. Backing the heat down to a low simmer, or pulling the pot fully off the burner, before I start blending keeps things calmer and gives me more control over the pace.
And if all else fails and a soup still has stubborn fibrous bits after two full passes, a fine mesh strainer is the honest backup plan. I don't reach for it often anymore, but early on it saved more than one dinner. Pushing the soup through a strainer with the back of a ladle catches whatever the blade couldn't fully break down, though at that point the real fix is usually cooking the vegetables a bit longer next time rather than straining every batch.
The recipe never changed. What changed was letting the vegetables cook a little longer and giving the blender a second, shorter pass after a two-minute rest.
Smooth soup starts with the right blender, not a fancier recipe
If you've been blaming your recipes for grainy soup, it might just be the tool. See today's price on the immersion blender I use every week for pot-to-bowl smooth soup with no extra dishes.
Amazon Check Today's Price on Amazon →