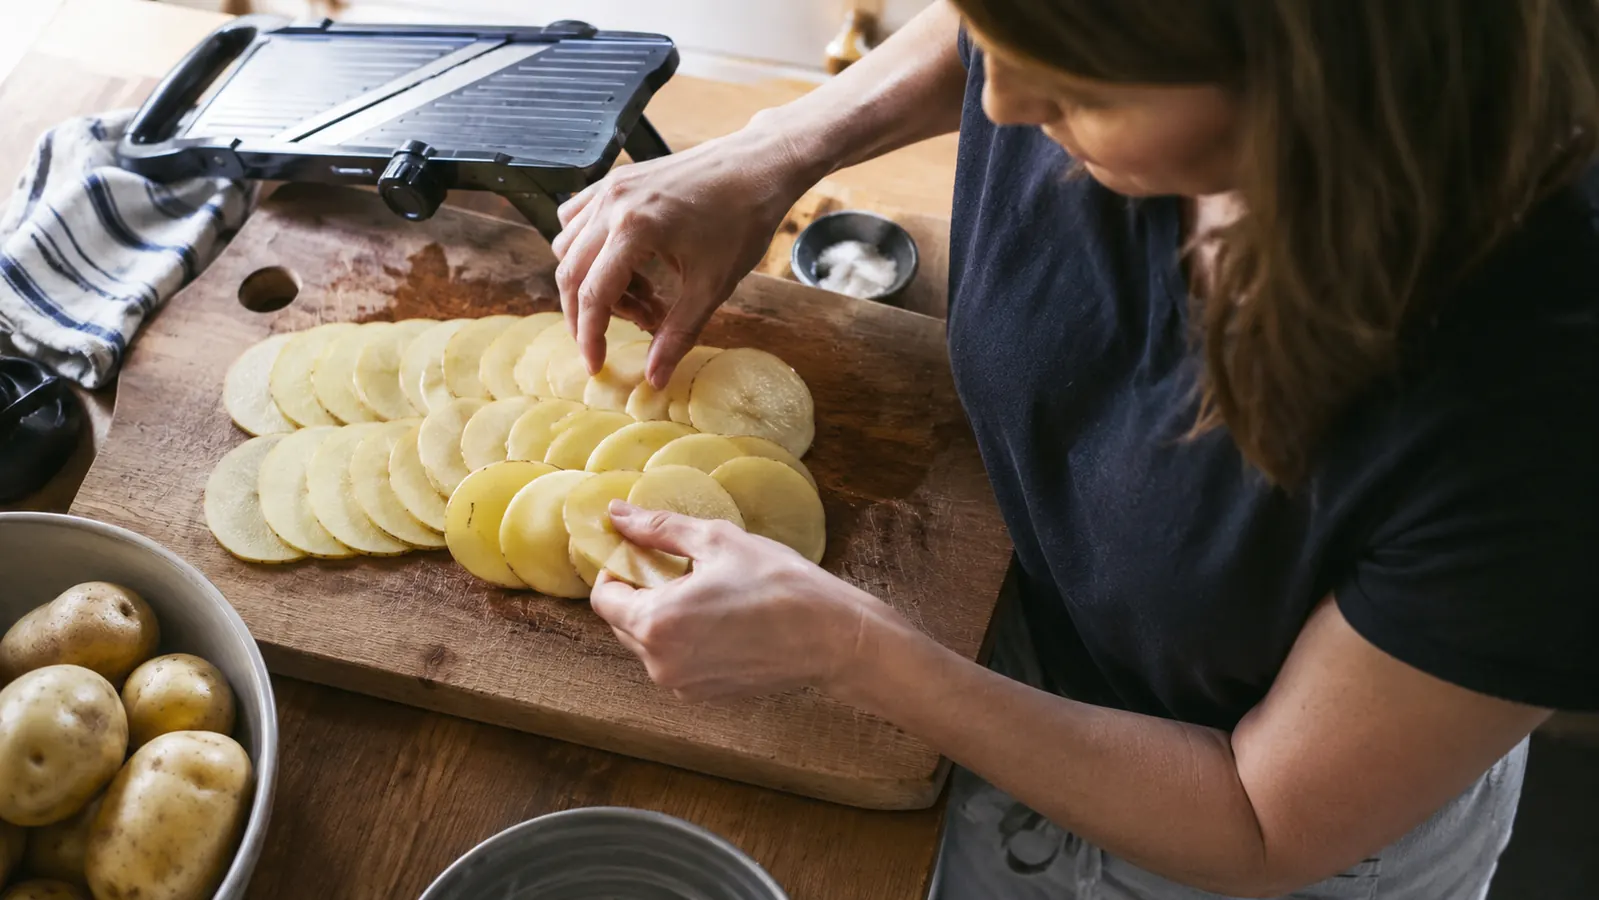
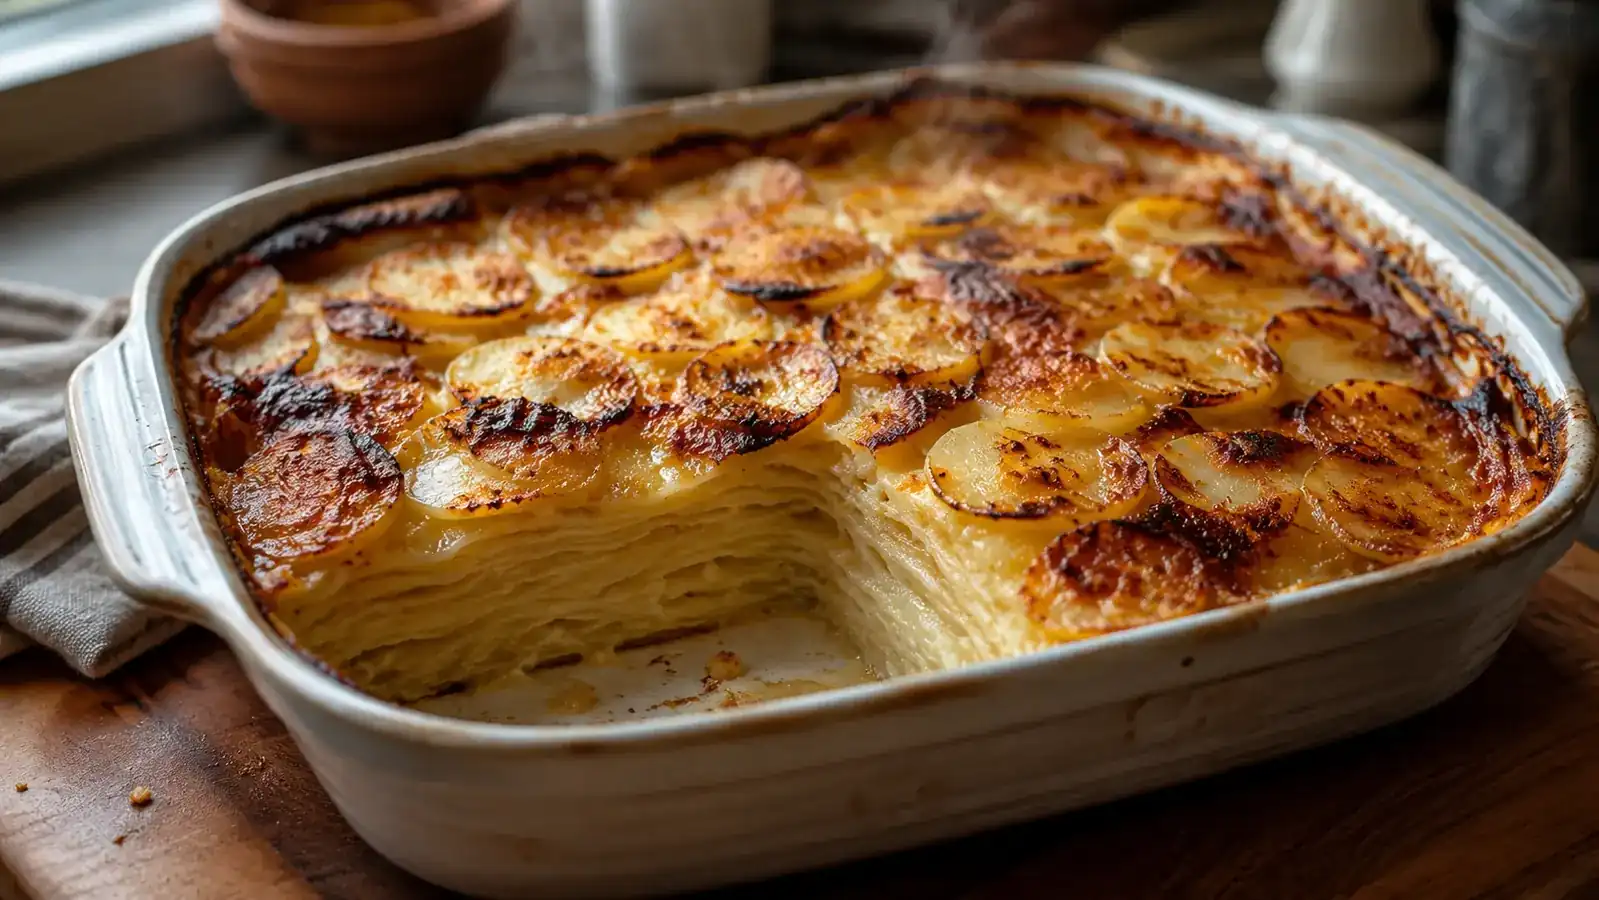
I used to think paper-thin vegetable slices were a knife skill I was just never going to have. Every potato gratin I attempted came out with some discs thick as a domino and others nearly see-through, which meant part of the dish was mush and part of it still had a bite to it no matter how long I left it in the oven. I tried a mandoline once years ago, got spooked by how close my fingers came to the blade, and shoved it in a drawer for two years.
What finally changed things was going back to it deliberately, with a Benriner mandoline and an actual process instead of just winging it. This slicer has an adjustable stainless blade and a hand guard that does the job it's supposed to do if you actually use it, and once I built a routine around it, slicing a russet potato into forty even, translucent rounds took about ninety seconds. Here is the exact five-step process I use every time, including the one step people skip right before they get hurt.
None of this requires special skill or a steady chef's-knife hand. It's really about setup and repetition, doing the same five things in the same order every time until they're automatic. Once that happens, a mandoline stops being the scary drawer item and becomes the fastest, most reliable tool in the kitchen for anything that needs to be thin and even.
Even Slices Start With the Right Slicer
If you're still fighting a chef's knife for consistent thickness, the Benriner mandoline is the tool that actually fixes it. Four swappable blades, a real adjustable dial, and a hand guard built into the design instead of tacked on as an afterthought.
Amazon Check Today's Price on Amazon →Step 1: Choose the Right Blade Setting for What You're Slicing
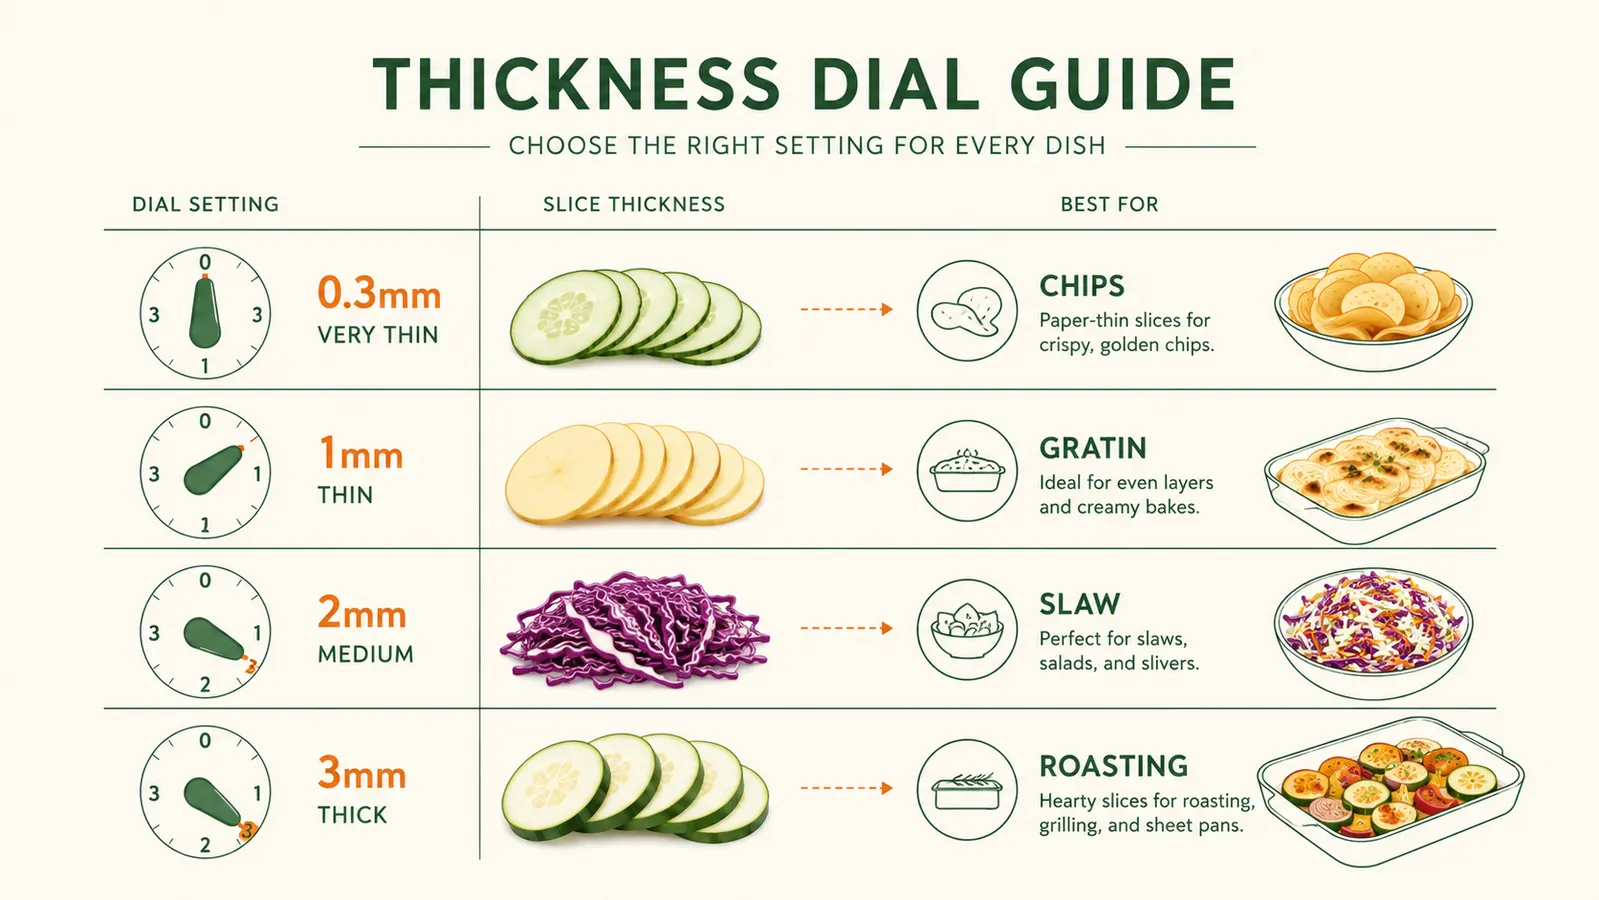
Before a single vegetable touches the blade, decide what you're making, because the thickness setting changes everything downstream. For potato chips or apple chips I run the dial down to its thinnest setting, close to 0.3mm, which is thin enough to go translucent and crisp up fast in the oven or a dehydrator. For a classic gratin or a potato dauphinoise, I move up to around 1 to 1.5mm, thin enough that the slices go soft and layered but thick enough to hold structure once they're stacked ten deep in a dish.
For a slaw or a cucumber salad, I go thicker still, closer to 2 to 3mm, because those slices need some bite left in them after they sit in dressing for twenty minutes. The Benriner's dial has enough range to cover all three jobs on the same tool, which is the whole reason I stopped keeping a separate knife-and-mandoline system and just committed to the one slicer. Test your setting on the first slice or two before you commit a whole potato to it. If it comes out thicker than you wanted, twist the dial down a notch and try again.
It helps to write your go-to settings down somewhere the first few times, because the dial doesn't have exact numbers marked on every model, just notches. I keep a sticky note on the inside of my cabinet door that says '2 notches for gratin, 4 for chips, 1 for slaw' until it became muscle memory. That five-second reference saved me from a lot of guesswork in the first month of actually using the mandoline instead of avoiding it.
Step 2: Set Up a Stable, Non-Slip Base
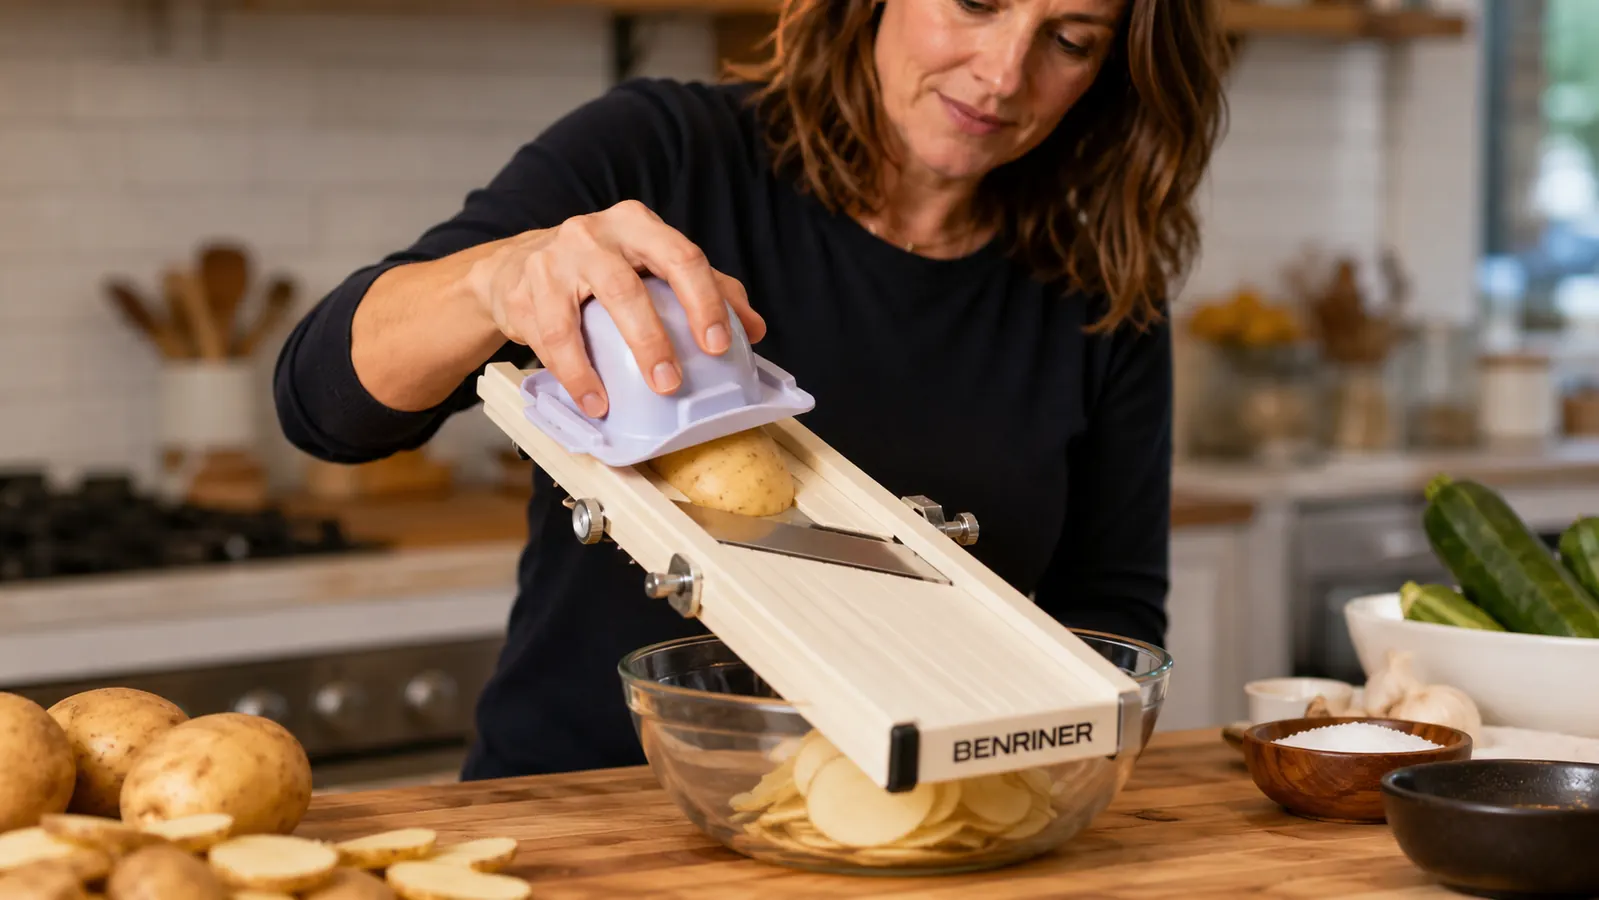
A mandoline that slides around on your counter is a mandoline that's going to end badly. I put a damp kitchen towel down first, then set my cutting board on top of that, then rest the mandoline's feet on the board at the angle it's designed to sit at, usually somewhere around 30 to 40 degrees. The damp towel underneath the board stops the whole rig from creeping forward every time you push a vegetable across it, which was the actual cause of most of my early near-misses, not the blade itself.
I also keep a wide, shallow bowl positioned right under the blade's landing zone to catch slices as they fall, so I'm not chasing potato rounds across the counter mid-slice. Once the board is anchored and the bowl is in place, I do a final check that the blade height is set correctly and that nothing on the counter is going to bump the mandoline while I'm working. Thirty seconds of setup here saves you from a wobble later, and a wobble mid-slice is exactly when accidents happen.
If your counter has any tilt or your cutting board is warped even slightly, this is where it shows up. I keep a second, flatter board reserved just for mandoline work now, because a board that rocks even a millimeter changes the angle the blade meets the vegetable at, which shows up as slices that are thinner on one edge than the other.
Step 3: Attach the Hand Guard Before You Ever Touch a Vegetable
This is the step I will not let anyone in my kitchen skip, including myself on a rushed Tuesday. Spear the vegetable onto the pins of the hand guard first, before it ever gets near the blade. The guard's whole job is to keep your fingertips a safe distance above the blade's surface while still letting you apply firm, even downward pressure. I learned this the hard way early on, running a zucchini across the blade freehand because the guard felt clumsy, and I caught the edge of my thumbnail. It wasn't a bad cut, but it was enough to make the hand guard a permanent, non-negotiable habit from that day forward.
If a piece is oddly shaped and won't seat cleanly on the guard's pins, I trim a flat edge on it first with a knife so it sits securely, rather than trying to muscle an unstable vegetable across the blade. Every mandoline injury I've ever heard about, from friends or in reviews online, traces back to someone deciding the guard was optional for just this one slice. It never is. Use it every time, on every vegetable, no exceptions, and this becomes the safest tool in your kitchen instead of the one everyone's afraid of.
I've started treating the hand guard the same way I treat a seatbelt, something you clip in before you move, not after you've already started driving. Once that mental shift happened, reaching for it stopped feeling like an extra step and started feeling like just how a mandoline gets used, full stop.
Step 4: Use a Steady, Even Push Stroke
Once the vegetable is seated on the hand guard and the mandoline is anchored, the motion itself is simple: one smooth, continuous push forward and down, letting the blade do the cutting rather than sawing back and forth. Sawing is how you get uneven slices with ragged edges, because you're changing pressure and angle mid-stroke. A single confident push, the same speed and pressure from top to bottom, is what gets you that clean, uniform thinness in every slice.
I keep my other hand resting flat on the hand guard's top surface, applying steady downward pressure, and let the slicing hand do the forward push in one motion. If you find yourself hesitating mid-stroke, that's usually a sign the blade's thickness setting is too aggressive for the vegetable you're working with, not a sign you need to push harder. Back the dial off half a notch and the stroke gets easier immediately.
Speed doesn't matter nearly as much as consistency here. I slice slower than I probably need to, mostly because a slow, even stroke produces slices that are the same thickness from the first one to the last, and that consistency is the entire point of using a mandoline instead of a knife in the first place.
Step 5: Know When to Stop and Switch to a Knife
Every mandoline eventually gets a vegetable down to a nub too small to safely run across the blade again, even with the hand guard attached. For me that's usually the last inch and a half of a potato or the last two inches of a zucchini. Instead of forcing that last piece through for the sake of using every scrap, I set it aside and finish it with a chef's knife by hand. It's a small habit that costs you almost nothing in yield and removes the single riskiest moment in the whole process.
I keep a small bowl next to my cutting board specifically for these end pieces. They go into stock, a quick saute, or get diced small for a soup base later in the week, so nothing is wasted, it's just handled with a different tool once the mandoline can no longer hold it safely.
What Else Helps
A few small additions make the whole routine smoother. If I'm slicing greens or herbs to go alongside a vegetable dish, I run them through a salad spinner right after washing so they're properly dry before they hit a hot pan, since wet greens steam instead of crisping. A sharp paring knife stays next to the mandoline for trimming odd ends before they go on the guard's pins, and for finishing off those last unsafe scraps. And a set of shallow, stackable storage containers keeps pre-sliced vegetables fresh in the fridge for a day or two if I'm prepping ahead for the week, which I do most Sundays now that slicing itself takes minutes instead of the twenty-plus it used to take with just a knife.
Cleanup is worth mentioning too. I rinse the mandoline immediately after use, before any starch has a chance to dry onto the blade, and I always wash the blade separately from the rest of the dishes so it doesn't end up hiding under a pile of plates in the sink where a hand could find it by surprise. A quick rinse and a dedicated spot on the drying rack takes ten seconds and removes the second most common way people get careless with this tool.
One more thing worth doing: keep the mandoline stored with its blade guard or sheath on, in a dedicated slot in a drawer rather than loose with other utensils. I lost count of how many times I nearly grabbed a spatula and found the blade edge instead before I started storing it flat in its own sleeve. It's a two-second habit that removes the single most common mandoline injury of all, the one that happens nowhere near the actual slicing.
The blade doesn't get safer just because you've gotten more comfortable with it. Respect it the same way on gratin number forty as you did on gratin number one.
Ready to Stop Fighting Uneven Slices?
The Benriner mandoline is the tool that finally made paper-thin, consistent slices a five-minute job instead of a knife-skills problem I never solved. The hand guard alone makes it worth the drawer space.
Amazon Check Today's Price on Amazon →